Minecraft is one of the popular games that has been in popularity for quite some time from now. It is one of the open-ended as well as a first-person game, which is completely focused on exploration as well as crafting. If you install the game, then you will understand that not every game is similar to others.

Just like other games, Minecraft is different from others and is a little different when it comes to directions or the story mode. If you have not played the game, then you would not be aware of it, but it has won many hearts and the face of pop culture.
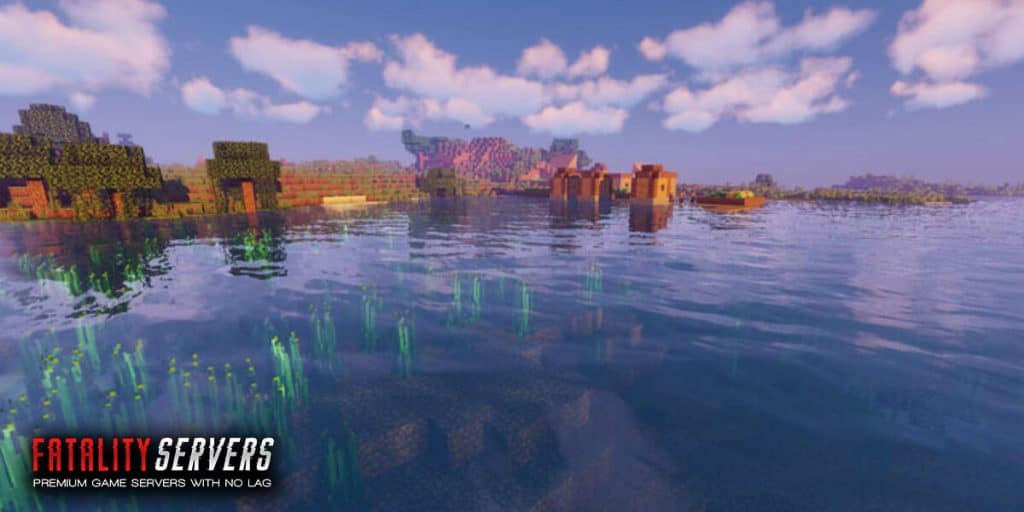
You would not be able to play Minecraft if you do not install shaders for your game as it will take the working and the overall look of the game to a next level. It is a mod that will bring a major difference in the visualizations to a Minecraft server.
Shaders will help in adding new lighting and improved graphics so that the game can run smoothly. Listed below is a detailed step by step guide following which you can easily download and install shaders in Minecraft.
Step 1: Download and Install Optifine
It is important to keep in mind that shaders are not any kind of mod, but it is a necessary graphics pack that can be installed in the same way the texture packs are installed. But, you have to keep in mind that shader packs are not supported by the vanilla Minecraft. If you want to install the shaders pack first, you have to install Optifine so that shaders can run smoothly.
Step 2: Download any shaders pack
Various shaders pack are available so, it is important to choose wisely. If you select the dark ones for installing, then it might make your game look a little bit scary, choosing the bright coloured package, the game will look similar to that of a beach. So, you must download the right shaders pack for your game that will match accordingly with your game.
Additionally, you have to keep in mind that the whatever shaders pack you are installing, the game is smoothly running. Make sure that you have the latest version of Minecraft as well as Optifine so that your game can run smoothly.
Step 3: Access the shaders folder
After downloading your favourite shaders pack, open the Minecraft launcher, and click on the ‘Optifine’ version. While accessing the main menu of Minecraft, tap on the ‘Options’ button, and then click the ‘Video Settings’. Go to the next page tap on the ‘Shaders’. Finally, tap on the ‘Shaders Folder’ button present in the bottom left of Minecraft. You will finally get to the actual place.
Step 4: Install the file
Find the shaders pack in the downloads section, and relocate the shaders pack that you recently opened. After that close the folder and restart the game once again. When you are restarting the game, you are choosing the ‘Optifine’ version.
After that, repeat step three, and just work till the ‘Shaders Folder’. You will notice the shaders pack that you recently installed. You are done and now you can continue playing the game.
Therefore, these are steps by following which you can download and install shaders for playing Minecraft.
Written by William Nelson

